BIOS images can get corrupted due to a number of different reasons such as a failed BIOS upgrade, power outages, or even virus or rootkit attacks. In such an event, the system will attempt to recover the BIOS image stored either in a hidden partition or an external drive. BIOS auto recovery is an automatic recovery process that occurs when the BIOS image integrity has failed during booting. Auto-recovery from either the HDD or an external USB drive is carried out. If this feature is disabled, you can start the auto-recovery process manually.
Automatic BIOS Auto-Recovery
A backup image of your BIOS firmware is stored in the primary HDD and if the BIOS firmware image integrity failure is detected during booting, a recovery process is automatically started. However, this option can be disabled from the BIOS itself, in which case the auto-recovery process is not started automatically. You can also plug in a USB device with the BIOS firmware image before powering on your device, and the auto-recovery process will start automatically. This cannot be disabled from within the BIOS.
Manual BIOS Auto-Recovery
If the auto-recovery setting has been disabled from within the BIOS and you do not have a USB drive with BIOS firmware image available, then most likely you will be staring into a blank screen for all eternity unless you start a manual BIOS auto-recovery process. How you’d go about doing this depends upon the manufacturer of your device. The first few fixes are General Methods to Attempt Auto-Recovery. You can try these methods regardless of the brand, make, and model of your machine. In fact, we suggest following these procedures first before moving on to the manufacturer-specific fixes.
Reset the Embedded Controller
If your device becomes unstable or you encountered problems during an update, resetting the embedded controller can sometimes fix the problem. To reset the embedded controller: Some devices have a dedicated pin-hole for resetting the embedded controller. If that is the case, you should use that instead.
Reset the CMOS
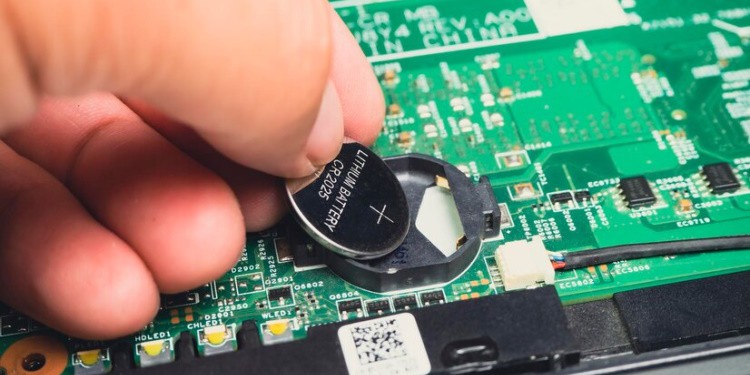
Another try is to reset the CMOS. You can do so by removing and re-inserting the CMOS battery.
Dell Desktops and Laptops
Some manufacturers provide specific instructions applicable to their own devices to start a BIOS auto-recovery process manually. These specific instructions work with their devices only. Dell provides BIOS Recovery 2 (BR2) and BIOS Recovery 3 (BR3) tools to recover a corrupt BIOS. BR2 attempts to recover BIOS image from either the HDD or an external USB drive while BR3 adds a start-up check, that can be enabled in the BIOS to add an auto-recovery capability to the BIOS. Please follow these steps to enable BIOS recovery on your dell devices:
HP Desktops and Laptops
A BIOS update screen will be displayed and the recovery process now begins automatically. If you do not get a BIOS update screen, you might need to contact your manufacturer or an authorized entity for additional support.
Acer Laptops
You will need to create an Acer recovery media to restore your corrupted BIOS image. Please visit Acer’s official website on instructions on how to do this.
Lenovo Laptops
Hardware Replacement
If you’ve tried everything above and you still have a corrupted BIOS image, then we’re afraid you might have to resort to replacing your hardware.
Hardcore Method: Replace Your BIOS Chip
Check whether your BIOS chip is slotted or soldered onto the motherboard. If your BIOS chip is soldered, then the difficulty of replacing it goes up exponentially and we will not recommend that you follow through. However, if your BIOS chip is slotted, you might be able to purchase and replace your BIOS chip, which should be cheaper than replacing the entire motherboard. Open the casing of your device and ground yourself properly before continuing further. Locate the BIOS chip on the motherboard and take note of the notches and layout. Take a picture, if you must. Carefully remove the old BIOS chip. Insert the new BIOS chip, making sure you align the notch and configuration of the old chip.
Safe Option: Replace your Motherboard
If hardware replacement is your only option, then the safer, albeit more expensive, alternative to replacing the BIOS chip is to replace the motherboard itself. This is especially true if you have no experience dealing with hardware maintenance and replacement, and doubly so if your BIOS chip is soldered to the motherboard. Contact your manufacturer or authorized repair entity to get your device’s motherboard replaced.


