You can share photos privately with specific people by using their email through the Share function. Creating a public link is a better choice if you want your photo to be accessible to large numbers of people. Without further ado, let’s get right into the details of how to share photos on Google Drive.
Before You Start
You’ll need to choose between the options listed below later on. Refer to this section then to understand what each one does.
Permissions
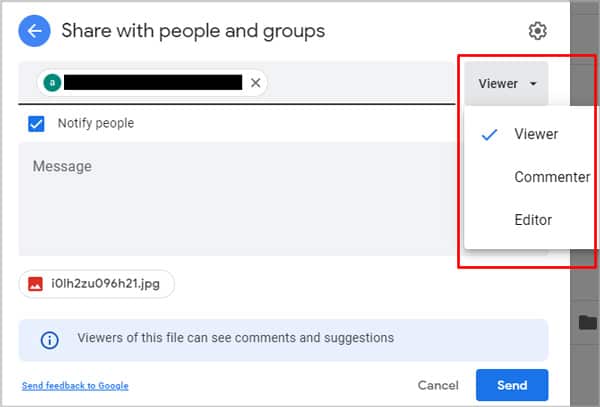
You can determine what permissions the person you shared the file with has.
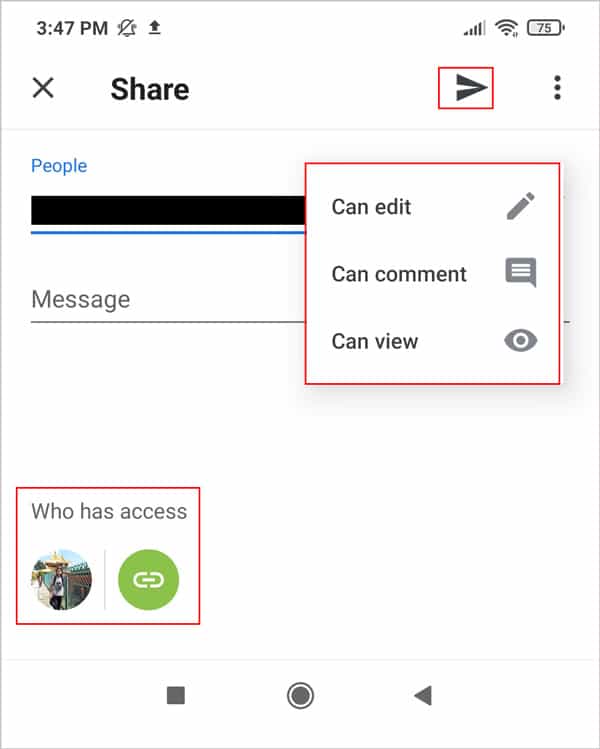
Viewers: can only view the content in the folder. Commenters: can leave a comment and give feedback. Editors: can download, edit, or delete the content.
Link Sharing
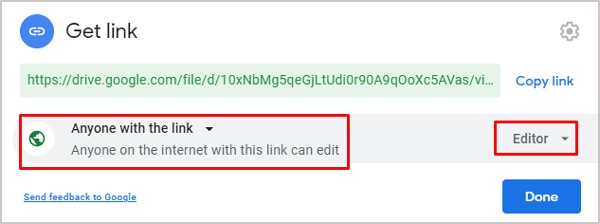
Your photo can be publicly or privately accessible when using the photo’s link.
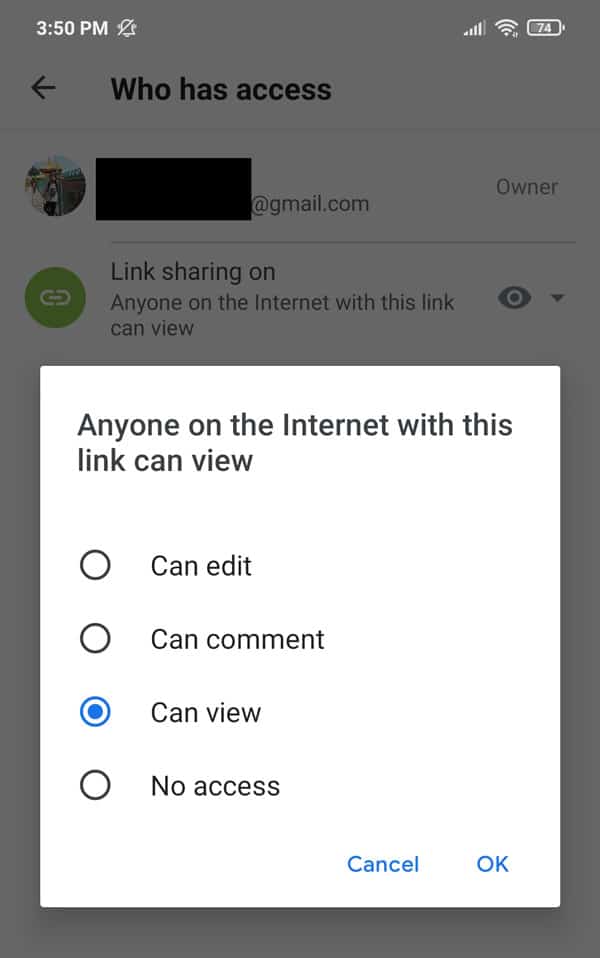
Restricted means only people added through the Share function can open with this link. Anyone with the Link means anyone on the internet with this link can view.
Uploading
Different options available in Android/iOS and PC.
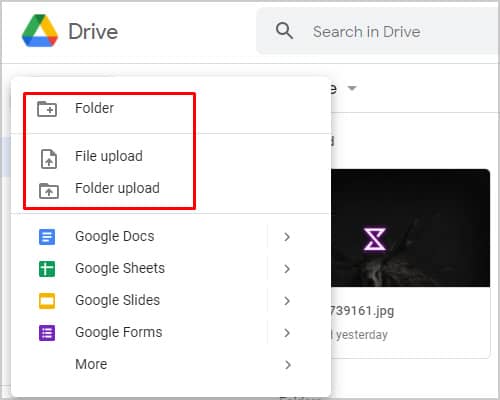
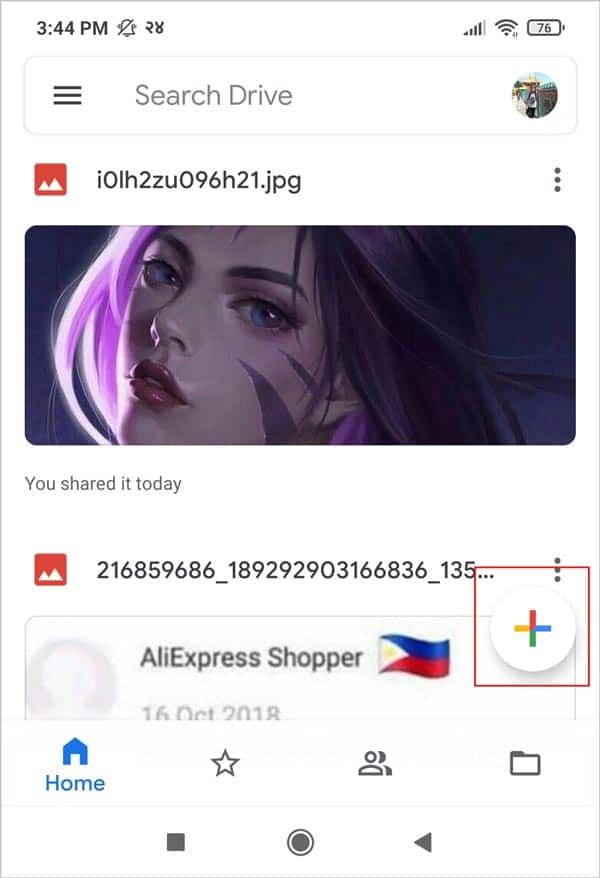
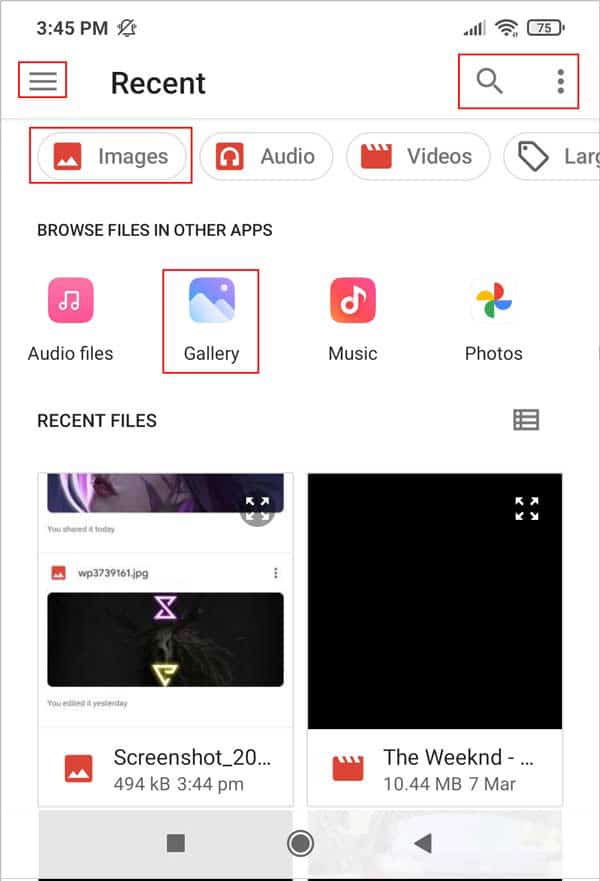
Use Upload to upload a file/photo in Android/iOS. Use Folder to create a new folder in your Google Drive and organize your drive contents. Use File Upload to upload a file from your PC to your Google Drive. Press CTRL (Windows) or Command (Mac) and select them to upload multiple files at once. Use Folder Upload to upload a folder with all its contents from your PC to your Google Drive. Use CTRL/Command to upload multiple folders.
How to Share Photos on Google Drive on PC
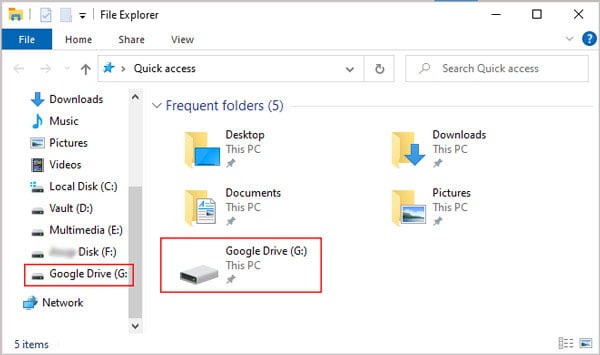
Google Drive Web Version lets you upload and share photos directly through your browser without the need for an app. The Desktop App utilizes a virtual drive on your PC. Ultimately, they’re the same thing, so it’s just a matter of preference.
Google Drive Web Version
Uploading Files and Docs
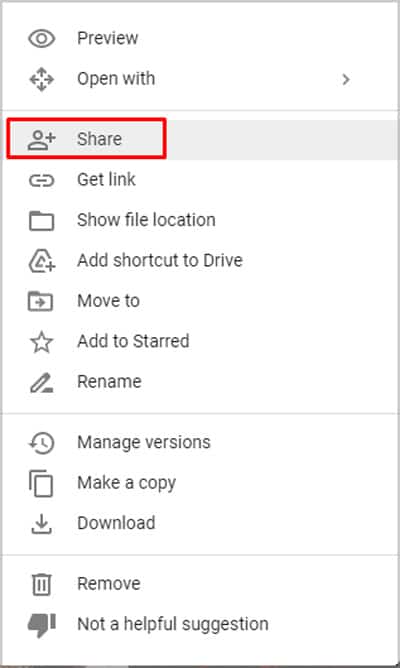
Sharing Files to Collaborate
Get Link to Share File
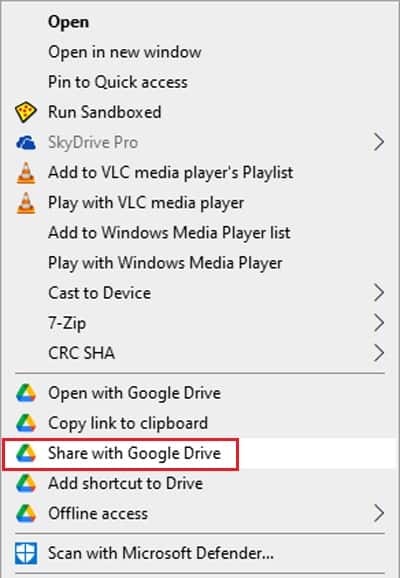
Google Drive Desktop App
How to Share Photos on Google Drive from Android
Uploading Photos on Google Drive
Sharing Photos On Android
Link Sharing
How to Share Photos on Google Drive from iOS (iPhone, iPad)
Upload photos on iOS
Sharing Photos on iOS
Managing People and Links
